CLUTCH SYSTEM BLEEDING INSTRUCTIONS
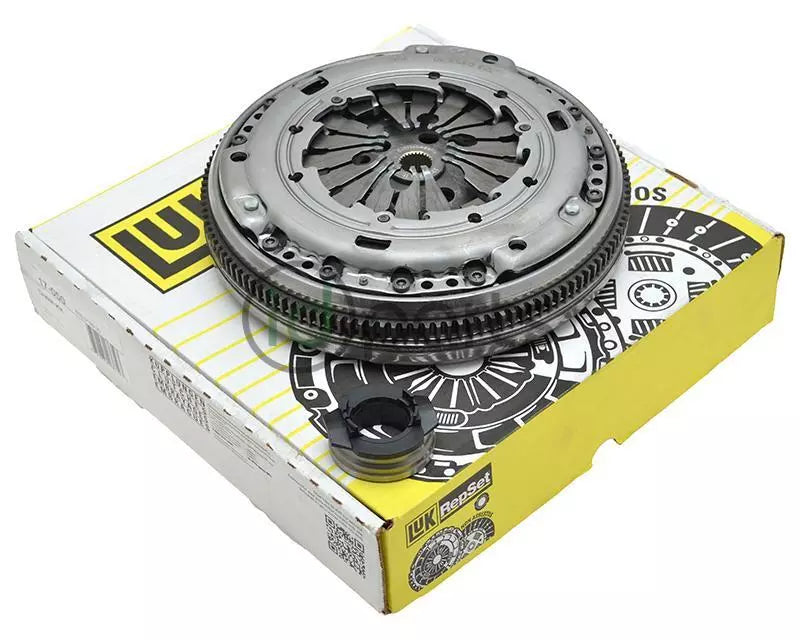
Clutch System Bleeding Procedure (Vacuum Bleeding Method)
If air has entered the clutch system during installation, it must be bled before driving. This procedure ensures complete removal of air from the system.
Required Tools & Materials:
- Vacuum source with gauge (capable of pulling 25-30” Hg)
- Rubber stopper (at least 1.5” diameter at the large end)
- Fitting to connect vacuum source to rubber stopper
- Small can of new DOT 3 brake fluid
- Catch can (placed between vacuum source and rubber stopper)
Procedure:
1. Prepare the System:
- Remove the cap from the brake master cylinder (brakes and clutch share the same reservoir).
- Attach the rubber stopper (connected to the vacuum source) over the master cylinder opening.
2. Create a Vacuum:
- Hold the stopper firmly in place and begin pulling a vacuum until it is sealed.
- Continue pulling a vacuum to 25-28” Hg.
3. Pump the Clutch Pedal:
- Get inside the vehicle and rapidly pump the clutch pedal 25-30 times.
- Ensure the pedal returns to the full up position each time.
4. Observe Air Removal:
- Check for a column of fluid in the hose between the stopper and catch can.
- Look for bubbles rising through the fluid.
- If no bubbles appear, repeat the pedal pumping process.
5. Repeat as Necessary:
- Depending on the amount of air, vacuum may need to be pulled 3-4 times.
- Air may continue to move overnight, requiring a second bleed the next day.
6. Finalize the Process:
Replenish brake fluid in the reservoir.
Pump up both clutch and brake pedals after each vacuum pull.
For easier brake pedal pumping, do so with the engine running.
⚠ WARNING: Failure to pump both pedals after pulling a vacuum may result in serious injury or death. formatee en HTML para pegarlo directamente en el editor de Shopify

